Today, we will be learning how to add a colored tattoo on your body in a very realistic way in Photoshop.
Adding a tattoo, or testing the result before actually getting one, is easy and fun with simple Photoshop techniques. Main tools we are going to be using would be Liquify Filter, which is to give the tattoo a wrapping look, and Layer Masks, which is to clean up the edges that don’t belong. The rest are just simple modifications that would make your piece look more natural and realistic.
Hope you find this tutorial fun to watch!
Timestamps:
0:25 Use Liquify Filter to Put Tattoo into Position
5:17 Use Layer Masks to Clean Up Edges
6:57 Apply Blending Options, Blur, Noise, Opacity, and Hue/Saturation Adjustment Layer
Related Videos:
Blend Your Logo onto a Shirt Realistically in Photoshop
https://youtu.be/vCYN8Uep-Zo
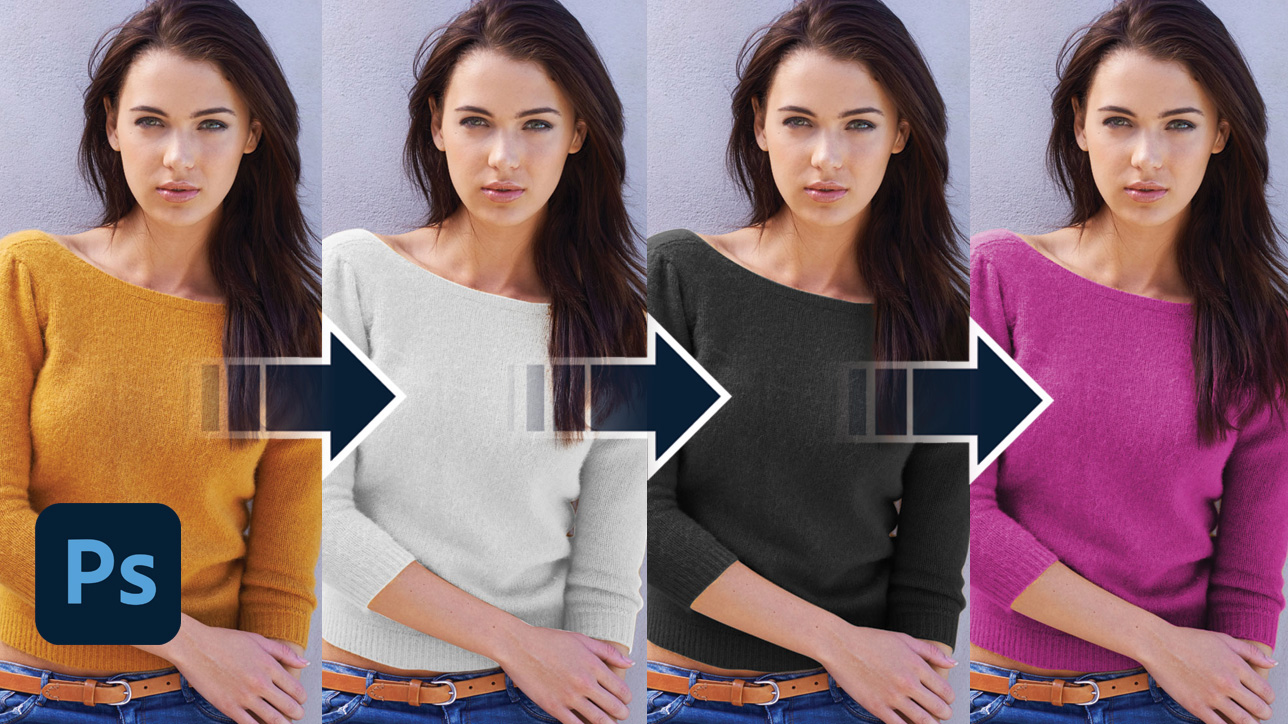
Change Color of Clothes to Any Color in Photoshop
https://youtu.be/S4ovejgJqRY
How to Change the Color of a Logo/Graphic in Photoshop
https://youtu.be/9pArR32bGcI