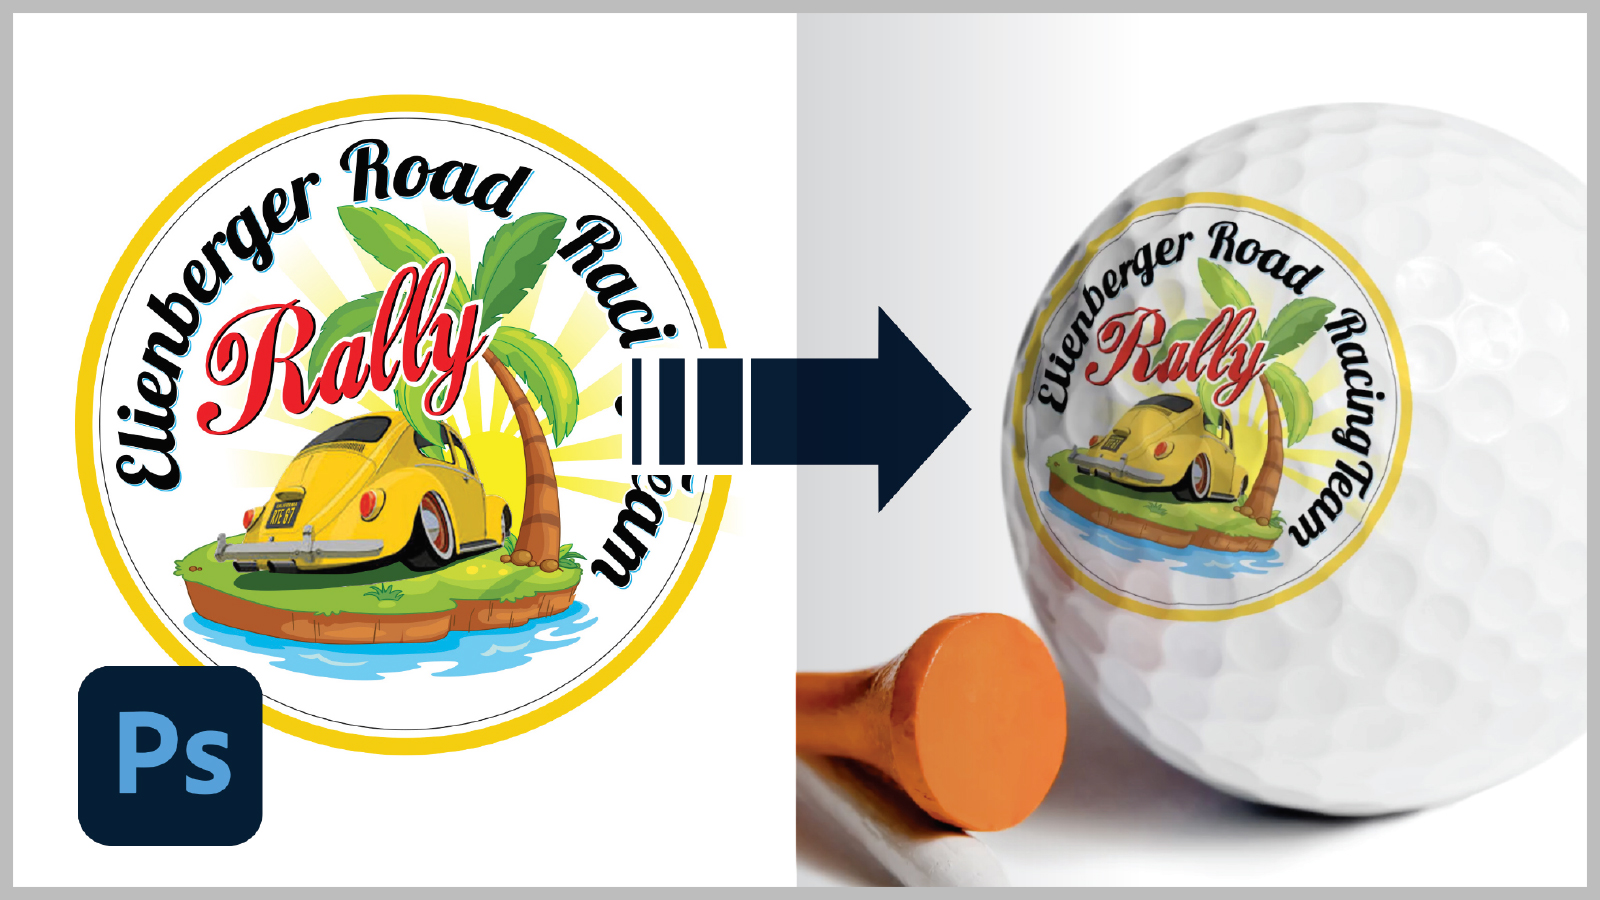
This is an in-depth tutorial showing us how to take a JPEG logo or graphic, and realistically blend it onto a shirt that has big folds. There are two key filters that will help us manage that: Liquify filter and Displacement filter.
The Liquify filter will help us adjust the shape of the graphic, and warp it so that it matches the folds and curves on our shirt. The Displacement filter will help us pick up the texture of the shirt, and blend our graphic onto it in order to make it look realistic.
And of course, we will also need some other tools and fundamentals to help us get that great result, such as Brush tool, Layer Masks, Curves Adjustment Layers, and Levels. We will take our time and do this slowly, step by step, and make our final piece look amazing!
Hope you find this video interesting and learn something new today!
Timestamps:
0:41 Place Logo on Shirt and Use Liquify filter to Mold it to Folds
7:06 Colorize Logo and Blend it on Shirt
10:08 Use Curves Adjustment Layers to Adjust Brightness
14:22 Use Displacement Filter to Blend on Texture
Related Videos:
Blend a Graphic onto Any Objects in Photoshop
https://youtu.be/o-7TzltqD2w
Blend Subject with New Background in Photoshop | Image Compositing
https://youtu.be/r2Z3ba-__ag