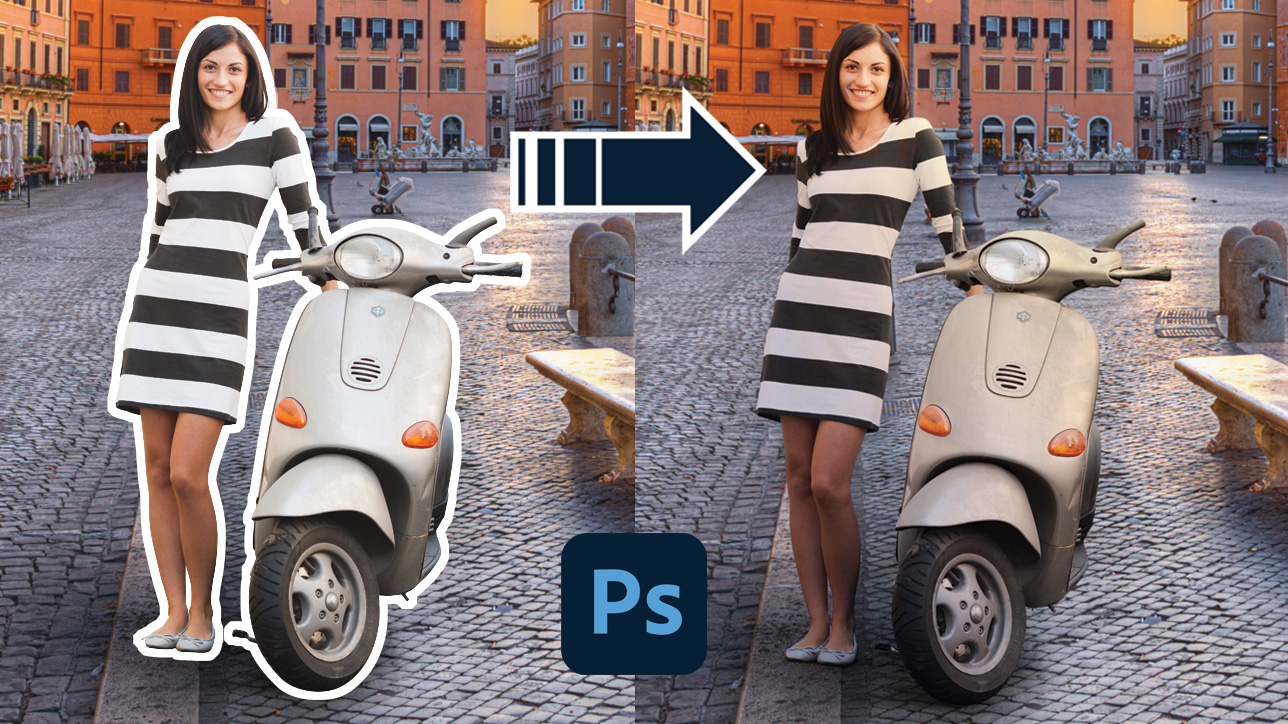
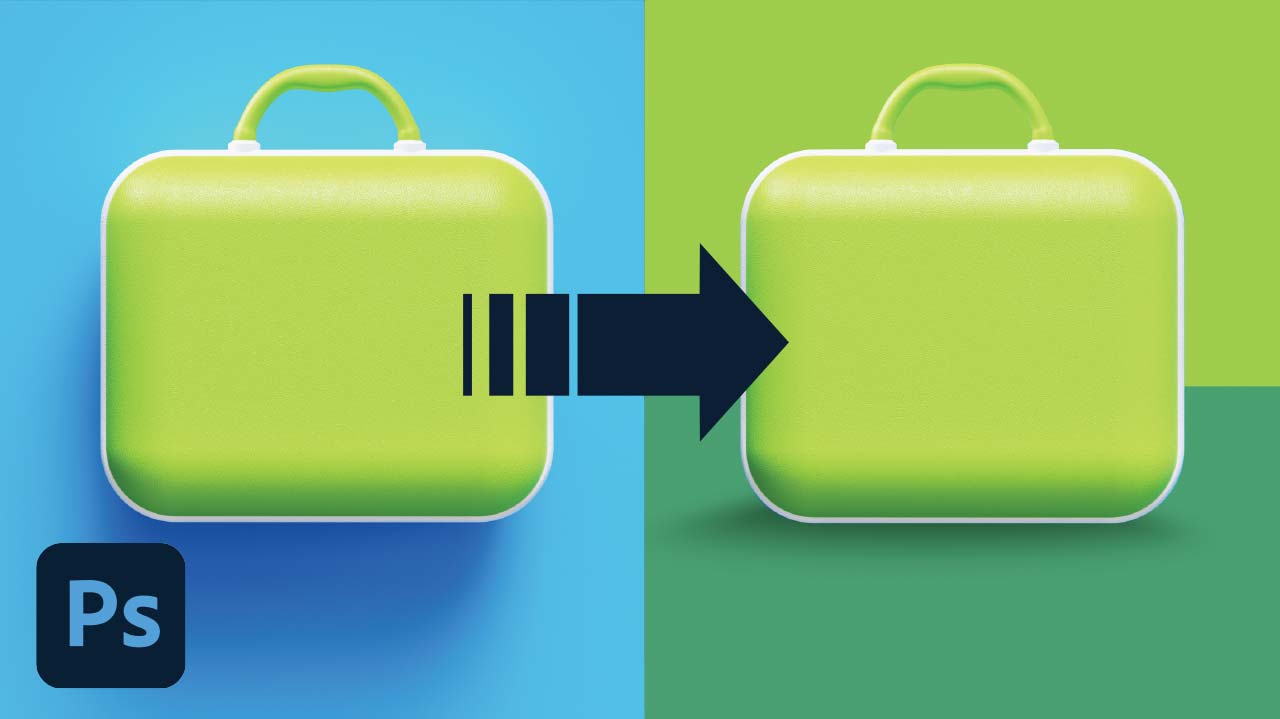
We will be learning how to use the Lasso tool to draw a custom shadow for an object or a product in Photoshop. The first step of the process is to examine the lighting angle and the shape of the object itself. Second step is to use the Lasso tool to draw a general shape of the object as the shadow casted over a flat surface and fill it with black. The last step is to use Layer Masks, Gradient tool, and Opacity to fine tune the shadow to be more realistic.
We can always use multiple shadows depending on the shape or number of the object(s). Also, in order to make the cropped object look more realistic, we can use Layer Mask, Gaussian Blur, and Levels to soften the edges.
Useful Tip:
Create a thin darkened shade for the area where the object meets the shadow would really help bring out the weight of the object. Your eyes would feel more comfortable looking at it 😀
Thank you for watching. Hope you learn something new today!
Timestamps:
0:29 Use Lasso and Gradient Tools to Create a Custom Shadow
5:49 Use Gaussian Blur and Levels to Soften Object’s Edges
8:03 Create a Second Shadow Multiplied with First Shadow
10:13 Create a Darkened Area Where Object Meets Shadow
Related Videos:
Introduction to Pen Tool:
https://www.youtube.com/watch?v=OGa3J…
How to Remove Background and Add A New Shadow in Photoshop
https://youtu.be/yVGw1TqWFkc
Blend Subject with New Background in Photoshop | Image Compositing
https://youtu.be/r2Z3ba-__ag